Blog
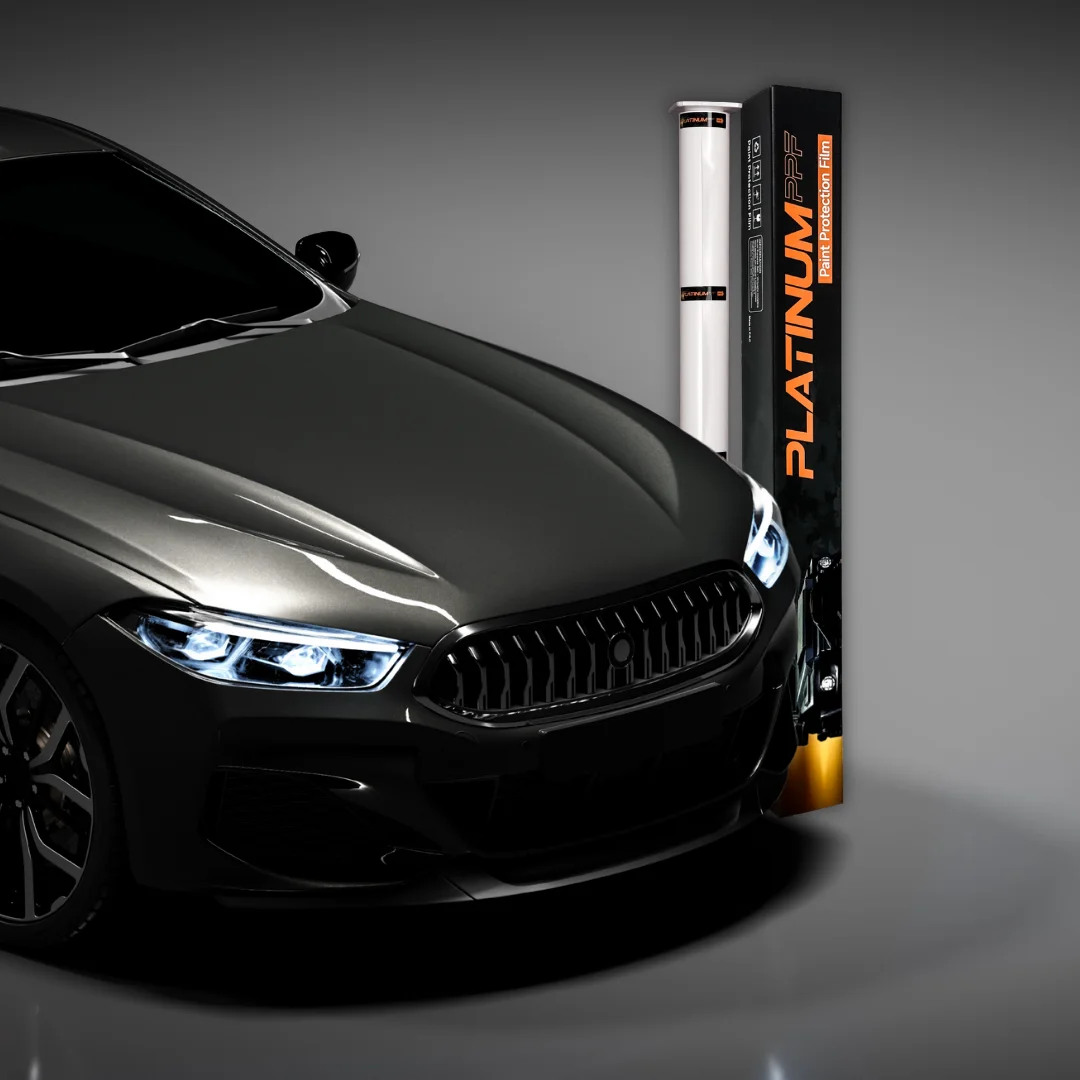
How long does paint protection film last
Ever thought about keeping your car looking new forever, even with the rough road? Many car lovers face problems like scratches and rock chips that hurt their car’s value. Learning how to apply paint protection film is the best way to get a strong, invisible shield for your car’s outside.
This comprehensive guide is your go-to step-by-step guide for applying paint protection film right in your garage. With the right skills and prep, anyone can get a top-notch finish. Keeping your car’s paint safe has never been easier for the DIY enthusiast.
- Understand the essential tools required for a successful installation.
- Learn the importance of surface decontamination before starting.
- Discover techniques to avoid bubbles and creases during placement.
- Gain confidence in handling specialized adhesive materials.
- Maintain your vehicle’s resale value with a high-quality barrier.
Essential Tools and Materials for a Professional Finish
Getting a perfect paint protection film application starts with the right tools and workspace. You need precision, patience, and the right tools to avoid damage. This ensures a showroom-quality finish.
Required Equipment for Installation
To start a diy paint protection film installation, you need some key items. A good squeegee is vital for removing water from under the film. A heat gun helps the film fit around the car’s curves.
You’ll also need microfiber towels to keep things clean and dry. A slip solution, like water and baby shampoo, helps the film slide into place smoothly.
| Tool Name | Primary Function | Key Benefit |
|---|---|---|
| Squeegee | Water removal | Prevents air bubbles |
| Heat Gun | Material softening | Ensures edge adhesion |
| Microfiber Towel | Surface cleaning | Avoids surface scratches |
| Slip Solution | Lubrication | Allows easy positioning |
Selecting the Right Paint Protection Film
Choosing the right material is as important as having the right tools. Modern films differ in thickness, affecting their impact resistance.
Look for films with self-healing properties to fix minor scratches with heat. Also, choose high-clarity films to keep your car’s paint looking original.
By picking the right materials, your diy paint protection film installation will last long and look great. Make sure the film fits your car’s surface before you start.
Preparing the Vehicle Surface for Optimal Adhesion
Getting a perfect finish starts before the film touches the paint. When applying clear bra film to vehicle surfaces, the bond’s quality depends on paint prep. Any small dirt or chemical left behind can cause bubbles, lifting, or early failure.
Deep Cleaning and Decontamination Techniques
The first step is a deep wash to remove loose dirt and road grime. After drying, technicians use a clay bar to remove hidden contaminants like iron particles and industrial fallout that regular washing misses.
- Use a high-quality automotive soap to strip surface dirt.
- Apply a clay lubricant generously to prevent marring the clear coat.
- Work in small sections to ensure every inch of the panel is smooth to the touch.
Removing Wax and Sealant Residues
Paint protection film needs a bare surface to bond correctly. Waxes, glazes, and paint sealants act as release agents, stopping the adhesive from sticking to the clear coat.
Professionals use an isopropyl alcohol (IPA) solution or a dedicated paint prep spray to clean the panels. This removes all oils and silicones, leaving the surface chemically clean. Proper degreasing is key to ensure the film stays in place for years.
Creating the Ideal Environment for Installation
Controlling the environment is as important as cleaning the surface. Dust and airborne particles are the main enemies of a clean installation, as they can easily get trapped under the film.
To minimize risks, follow these environmental guidelines:
- Temperature Control: Keep the shop temperature between 65°F and 75°F for the best adhesive tack.
- Dust Mitigation: Use a misting system or air filters to keep the workspace dust-free.
- Lighting: Bright, overhead LED lighting is needed to spot any remaining imperfections before applying the film.
By controlling the workspace, the process of applying clear bra film to vehicle panels stays efficient and professional. A clean, stable environment lets the installer focus on precision, not fighting against contamination.
Understanding How to Apply Paint Protection Film
Learning how to apply paint protection film is a detailed process. It needs patience and careful attention. To get a top-notch finish, follow a step-by-step method. This ensures the film sticks well to the car’s curves.
Mixing the Slip Solution and Tack Solution
The paint protection film installation process starts with the right chemicals. You’ll mix two solutions: a slip solution and a tack solution.
The slip solution is water with a bit of baby shampoo or special gel. It lets the film move smoothly without sticking too soon. The tack solution, on the other hand, has more isopropyl alcohol. It helps the adhesive stick well once the film is in place.
Measuring and Cutting the Film to Size
First, measure the panel carefully for full coverage. It’s important to have extra material for wrapping and tension.
Use a sharp blade to cut the film to the panel’s shape. Keep your hand steady to avoid paint damage. Being precise here saves material and looks better.
Positioning the Film on the Vehicle Panel
Getting the film in the right spot is key when you learn how to apply paint protection film. Align it with the body before the adhesive sets.
Start by spraying the slip solution on the panel and film. Place the film carefully, adjusting until it’s centered. Then, use a squeegee to remove excess liquid and secure the film.
Mastering the Squeegee Technique
The secret to professional paint protection film application is in your squeegee technique. This tool connects the film to the vehicle’s surface. By adjusting pressure and angle, you get a strong bond that lasts.
Removing Air Bubbles and Excess Solution
To get a clear finish, push out trapped slip solution under the film. Start from the center and move outward. This methodical approach stops bubbles from forming.
Keep your squeegee at a steady angle to avoid scratches. If air bubbles are tough, lift the film edge and re-squeegee with more solution. Being patient here is key for a great finish.
Managing Edges and Complex Curves
For complex shapes, you need special paint protection film application techniques. Stretch the film with your fingers before squeegeeing. This helps it fit curves without wrinkles.
Start from the flat part of the panel and move to curves. Secure the center first for better control. This keeps the film smooth as you reach the edges.
Applying Heat for Proper Adhesion
Heat helps with polyurethane films. A heat gun or hair dryer makes the film more pliable. When warm, it stretches over shapes and sticks better to the paint.
Don’t overheat the film to avoid damage. Move the heat source to spread warmth evenly. A final squeegee pass seals the film in place.
| Surface Type | Squeegee Pressure | Heat Requirement |
|---|---|---|
| Flat Panels | Firm and Even | Minimal |
| Gentle Curves | Medium Pressure | Low Heat |
| Intricate Edges | Light, Precise | Moderate Heat |
Troubleshooting Common Installation Challenges
Even the most skilled professionals sometimes face challenges when applying paint protection film. It’s important to know how to handle these issues. These tips for paint protection film application will help you keep your work at a high standard, even when problems come up.
Addressing Creases and Stretch Marks
Creases happen when the film isn’t laid down smoothly on curved surfaces. If you see a small crease, lift the film back to where the problem started. Use a low-heat gun to soften the film, making it easier to smooth out.
Don’t pull the film too hard, as this can cause permanent damage. Instead, use gentle pressure with your fingers to place it correctly. After smoothing, apply slip solution and squeegee it firmly.
Fixing Dust or Debris Under the Film
Dust trapped under the film can be a problem, but it’s usually fixable if caught early. If you see a particle, lift the film’s edge closest to it. Use a small piece of masking tape to carefully remove the dust from the film or the surface.
Here’s how to keep your work clean:
- Lift the film just enough to reach the particle.
- Apply a small amount of slip solution under the film to prevent sticking.
- Wipe away any residue with a clean, lint-free cloth before laying the film back down.
Handling Over-stretched Material
Over-stretching happens when the film is pulled too far, losing its shape. If the film looks thin, cloudy, or won’t lay flat, it’s over-stretched. In such cases, it’s best to replace the section entirely for long-term durability.
If the stretching is minor, you might be able to fix it with controlled heat. But be careful, as too much heat can harm the topcoat. These tips for paint protection film application remind us that knowing when to start over is as important as fixing a mistake.
Post-Installation Curing and Inspection
Getting a professional look takes patience, mainly during the curing phase. Knowing how to properly install paint protection film means more than just applying it. It’s about waiting for the material to fully bond with the car’s surface.
Allowing the Film to Set Properly
After placing the film, the moisture under it needs to dry out. This usually takes 24 to 48 hours, based on the temperature and humidity. Avoid driving the vehicle or exposing it to harsh weather during this time to let the adhesive set right.
During this period, you might see small, cloudy spots or minor bubbles. These are just moisture pockets that will clear up as the film dries and the water evaporates. Being patient is key during this time.
Final Inspection for Imperfections
Once the film has dried, do a detailed check of the whole surface. Use a bright light to look for air bubbles, debris, or edges that are lifting. If you find a small bubble, you can usually press it towards the edge with a soft cloth.
If you see a bigger issue or trapped dust, you might need a pro’s help. Do not try to remove the film once it’s fully set, as it can harm the adhesive and the protective layer.
Trimming Excess Material Safely
When learning to install paint protection film, the trimming stage is critical. Use a sharp, quality blade to cut off any extra film along the edges. Always be gentle to avoid scratching the car’s clear coat.
Keep the blade at a shallow angle to control it and prevent the film from tearing. Safety is key here, so make sure your area is well-lit and your hands are steady. Taking your time with these details will give your car a smooth, lasting finish.
Best Practices for Long-Term Maintenance
Keeping your paint protection film in top shape is key. The first step is the installation, but ongoing care is just as important. By following best practices for applying paint protection film, you can keep your car looking new. Regular maintenance stops yellowing and keeps the film clear.
Cleaning and Washing Guidelines
Washing your car often is a must to remove dirt and stains. Use a pH-neutral automotive soap and a soft microfiber mitt to avoid scratches. Wash in a shaded area to prevent soap drying too fast.
After washing, rinse well with clean water. Dry with a high-quality, clean microfiber towel. Avoid high-pressure water sprayers near the film edges to prevent damage.
Avoiding Harsh Chemicals and Abrasives
Not all cleaning products are safe for protective films. Avoid harsh solvents, degreasers, and abrasive polishes. Many waxes can also harm the film.
Use sealants or sprays made for paint protection films instead. These products keep the hydrophobic properties of the surface. The right supplies help the film stay flexible and clear for years.
Monitoring Film Integrity Over Time
Regular checks are essential for maintenance. Inspect the film edges every few months to ensure they stick well. If you see lifting or peeling, fix it right away to prevent dirt buildup.
Spotting problems early is the best way to protect your investment. If you find tough stains or scratches, get a pro’s help before trying to remove them. Regular monitoring keeps your car safe from road debris and environmental damage for years.
Conclusion
Getting a perfect paint protection film job needs patience and care. Car owners who learn these steps can protect their vehicle from road debris and the weather.
Using top-notch materials from brands like 3M or XPEL is key. Making sure the surface is ready and using a squeegee smoothly are essential. Every step in applying the film affects how clear it stays over time.
Keeping the film in great shape for years requires regular care. Washing it gently and checking it often helps spot problems early. This way, the car’s look stays perfect and the paint is safe.
With the right tools, anyone can do this job well. Doing it often makes you better at it, just like a pro. Having a car that’s well-protected brings peace of mind.
FAQ
Yes, you can install paint protection film yourself. It takes patience and a good guide. Using top brands like XPEL, 3M, or SunTek can help you get great results at home.
What are the most important tips for paint protection film application to avoid trapped air bubbles?
To avoid air bubbles, use a steady squeegee motion. Start from the center and move outwards. Keep the surface wet with a slip solution made of water and Johnson’s Baby Shampoo.
First, wash the car thoroughly. Then, use a clay bar to remove dirt. Finish with a wipe-down using isopropyl alcohol. Make sure to remove wax or sealants for the film to stick well.
How long does the curing process take after completing the how to apply paint protection film steps?
The film needs 48 to 72 hours to set. Keep the car dry and away from harsh weather for a week. This lets the film dry completely.
Use gentle car soaps and avoid harsh car washes. When washing, keep the nozzle 12 inches from the film. This prevents damage over time.
Yes, small dust spots can be fixed early on. Lift the film and use a tack solution to clean the area. Work fast, as the solution dries quickly.